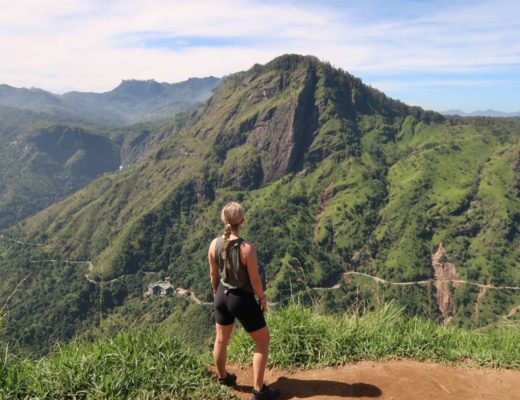
When visiting the quaint little town of Ella and asking locals what they would recommend doing, we were constantly told to head up Little Adam’s Peak. We did that and absolutely loved it. While at the top of Little Adam’s Peak, we realised we were actually looking out at another popular hike: Ella Rock. We had heard a lot of mixed reviews about this hike in regards to hiring a guide, getting scammed on the way up, etc. After a fair bit of research and speaking to some other tourists we met, we made it up to the top unguided. I’m here to help you do the same with this Ella Rock hike guide!
What you should know BEFORE hiking up Ella Rock
After speaking to a few people in Ella and doing a bit of research, we heard a few interesting things about this hike. There are many locals who offer paid hiking guide services to get tourists up Ella Rock for around US$25. They claim the climb up is unclear and it’s very easy to get lost.
At the same time, we also read a few blogs online with guides on how to get to the top. We were warned that if we went on our own, to be wary of locals who try to ‘offer you help’ by pointing you in the ‘right direction’. When in reality, they are actually taking you the wrong way and once you realise you’re completely lost, they offer to help you get up to Ella Rock. For a fee, of course. We also read about false directions on paths while doing the hike, but we didn’t come across any of these.
Don’t be fooled or persuaded into thinking you need to hire a guide. The hike isn’t that challenging as long as you have looked at the route ahead of time and have a device with data to guide you. Also, don’t listen to any locals along the way who have told you that you’ve gone the wrong way. Stick to your guide and gut!
Starting point of Ella Rock Hike
-
- Keep heading along the tracks
-
- Take this sharp left (it’s easy to miss)
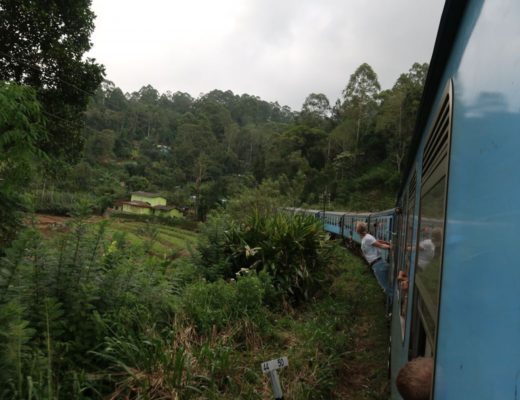
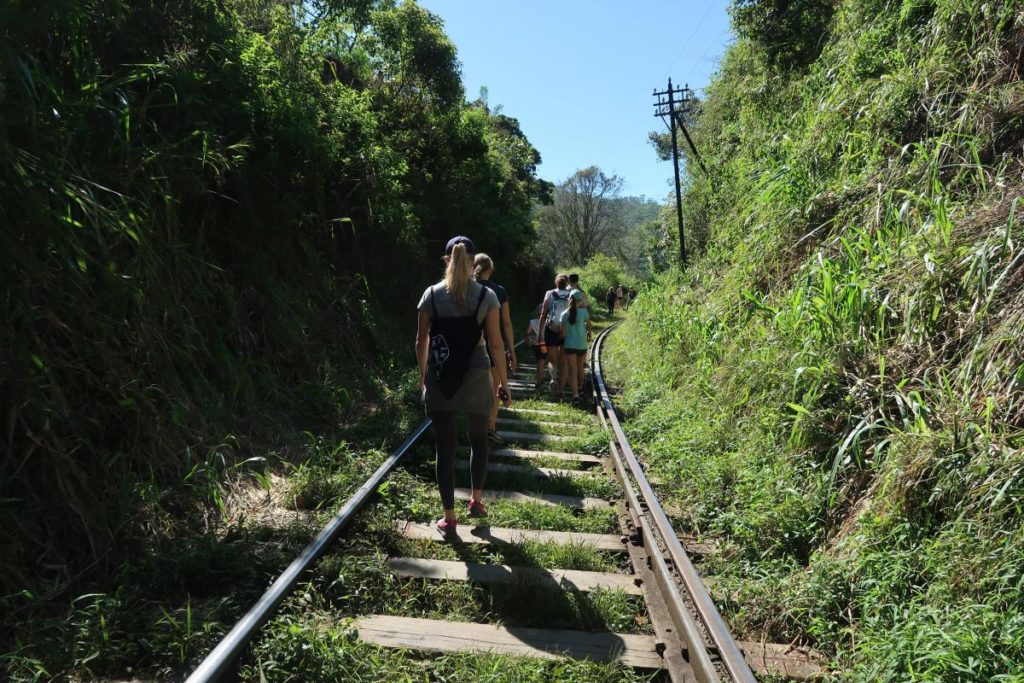
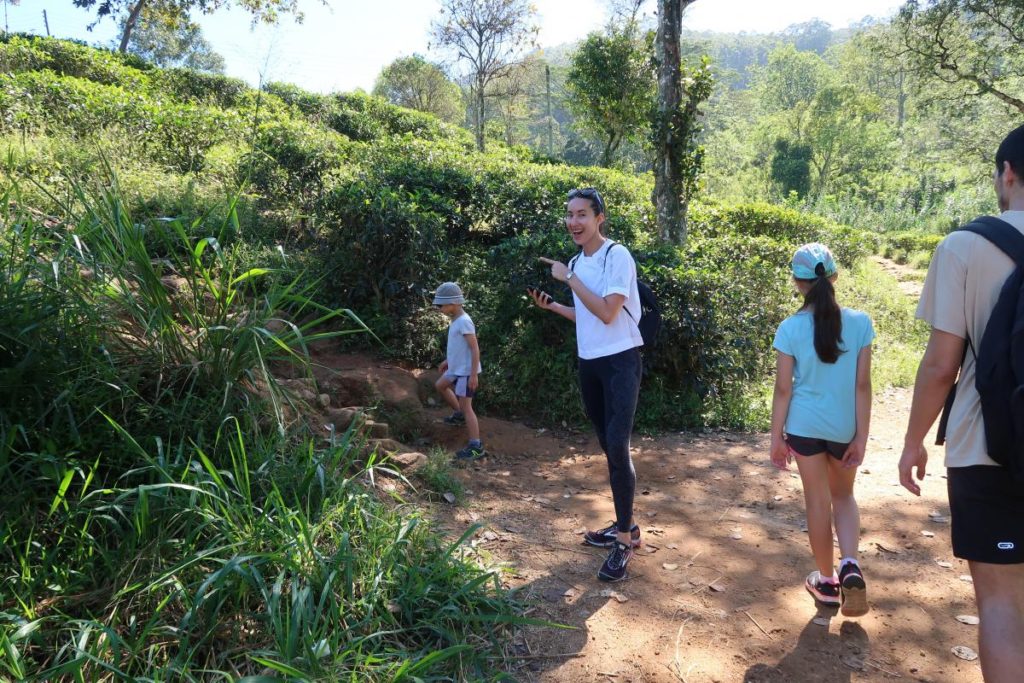
You’ll begin the hike at Ella Railway station. Once in the station, go left and walk down to the end of the platform. Hop off onto the tracks and continue walking. Just make sure to keep your eyes and ears out for oncoming trains.
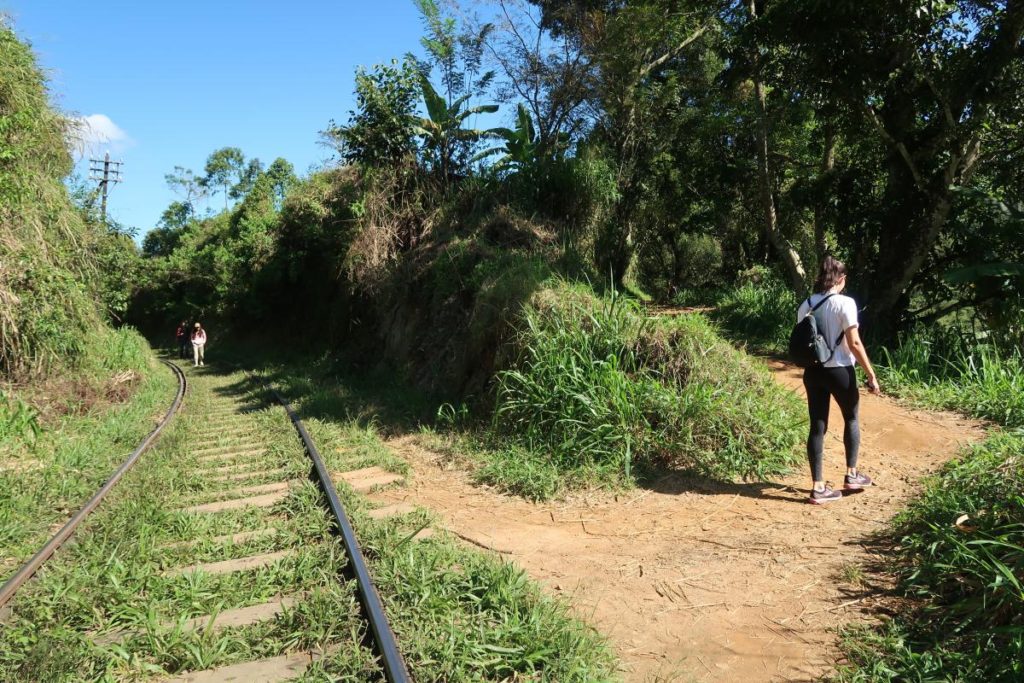
Continue walking along the tracks past Kithalella Station – this should take around 30 minutes. Keep your eyes out for a sharp left about 7 minutes past the station. It’s practically impossible to see while you’re walking along the tracks – we actually ended up walking past it for a few minutes before we realised and had to back-track.
Step by step Ella Rock hike guide until the first view point
-
- Continue across the bridge
-
- Take this left
-
- Follow the path
-
- Past the little house
-

- Down through the trees
-
- Enjoy the views – you’re half way there!
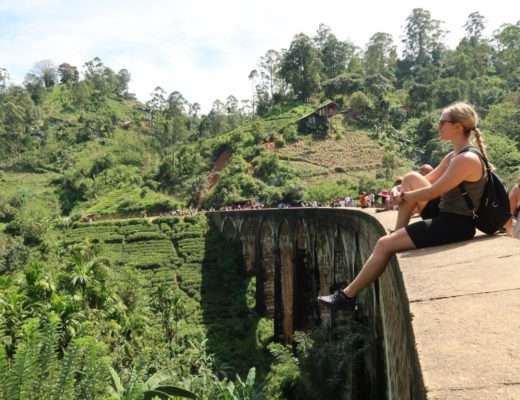
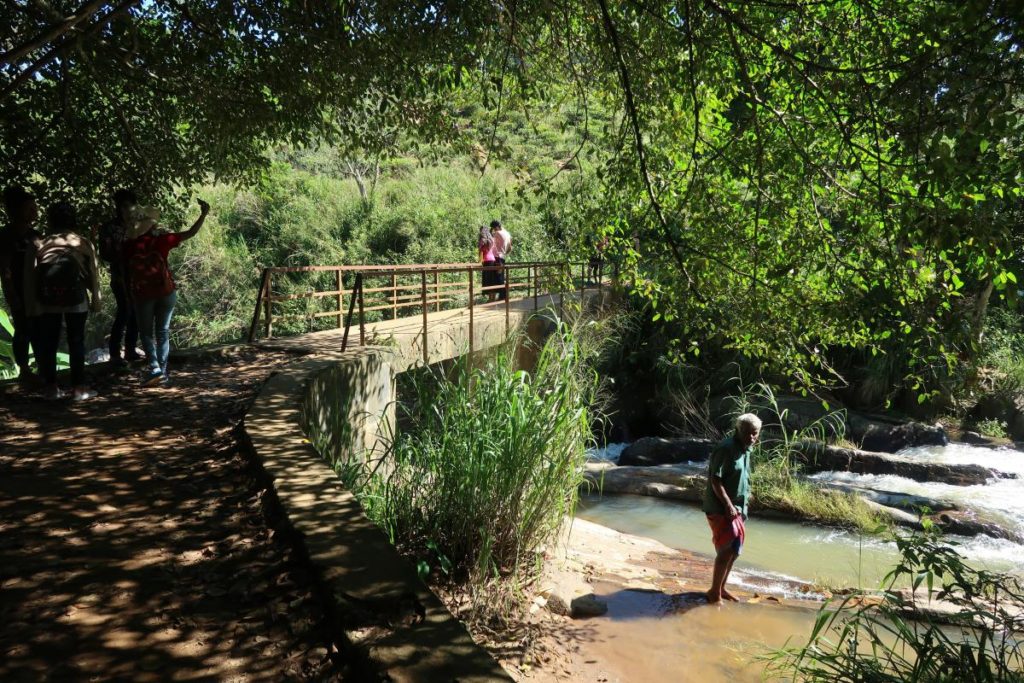
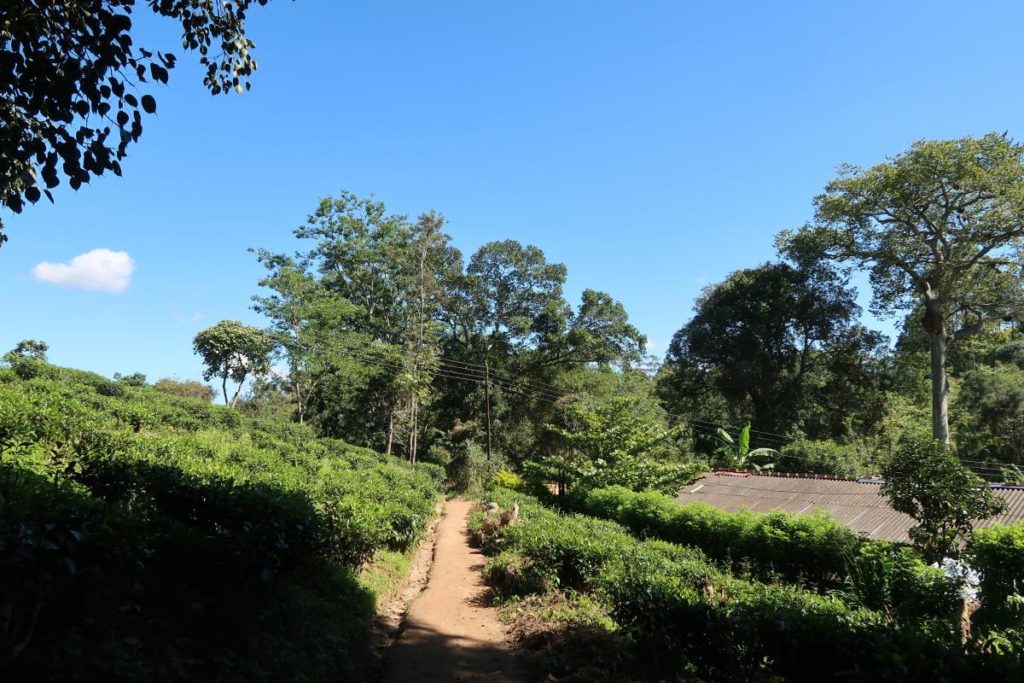
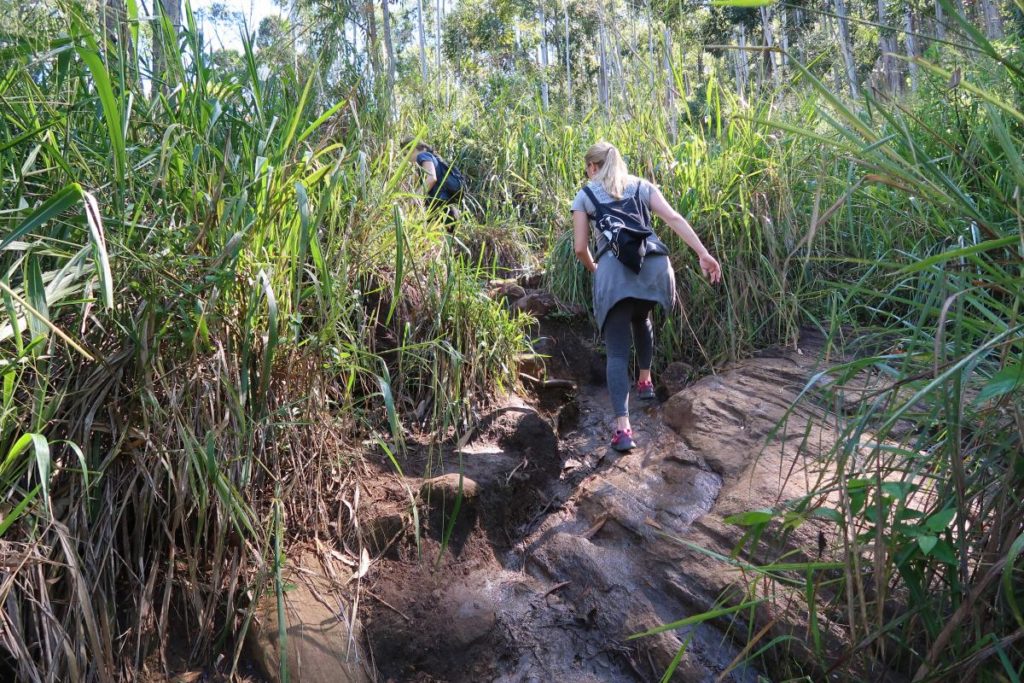
Shortly after your sharp left, you’ll see a little bridge over a stream. Walk across it and take the first left afterwards. At this point, you will slowly begin to ascend. Continue along the path – you will have tea plantations on either side of you.
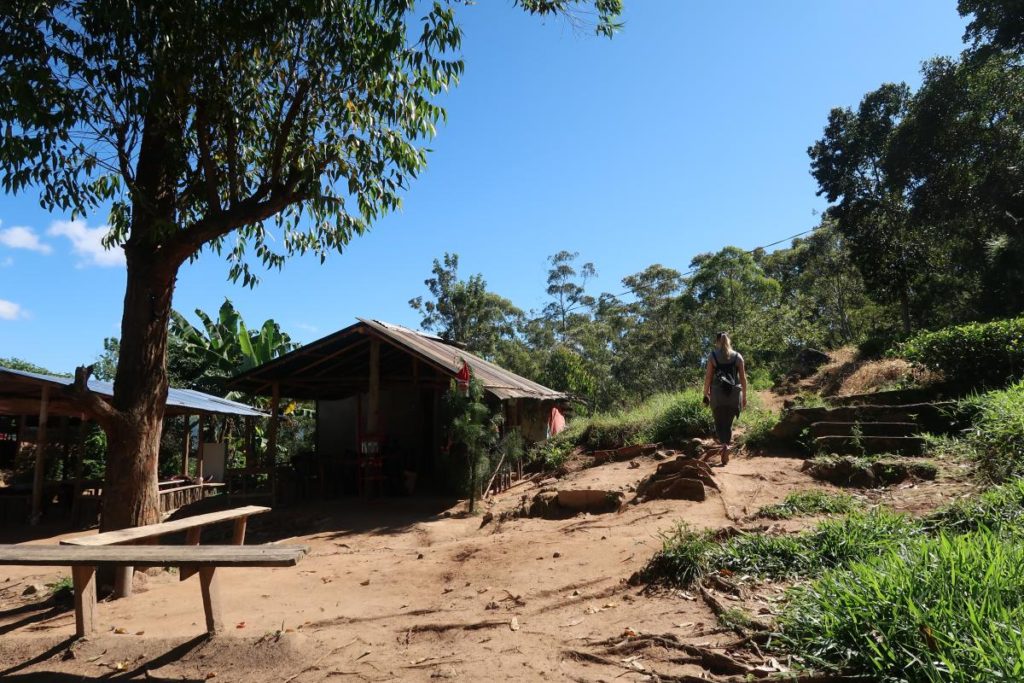
About five minutes later, you will come out into a bit of a clearing where you’ll see a few benches and some little wooden houses. Stick to the right of them and walk up the stairs.
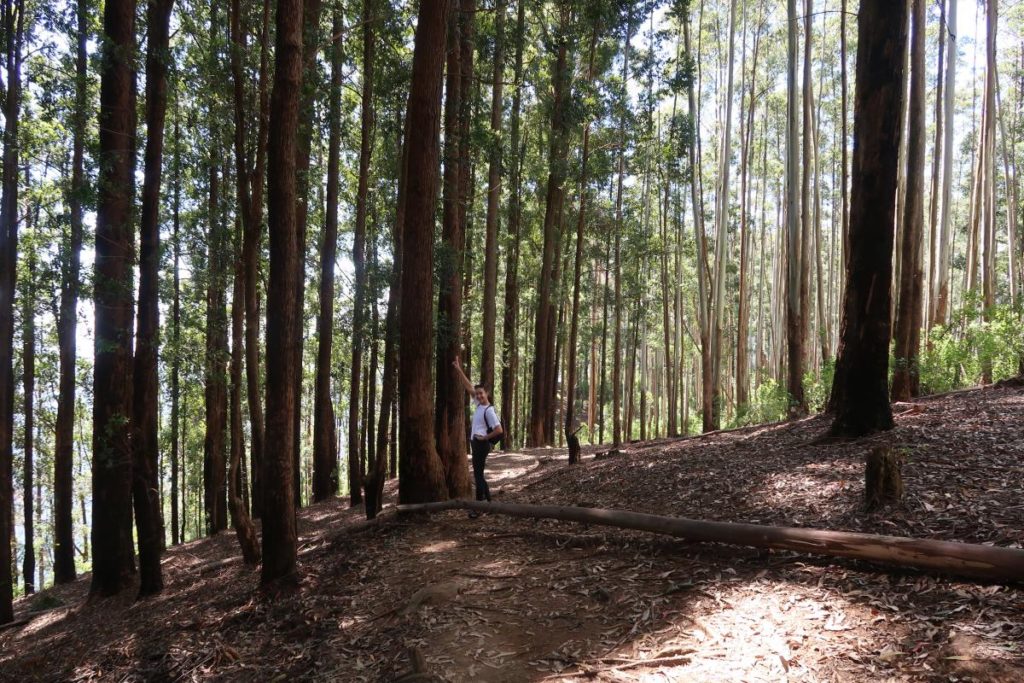
After another five or so minutes, you’ll come out into another clearing with tall trees surrounding you. Make your way down and through these trees. This is also where you’ll be able to get a bit of a sneak peak at the views to come.
Making it to the top of Ella Rock
-
- Careful – it can be slippery
-
- Steep ascent
-
- Food & drinks available for purchase at the top
-
- Coming out onto Ella Rock
-

- Ella Rock
-
- Views from Ella Rock
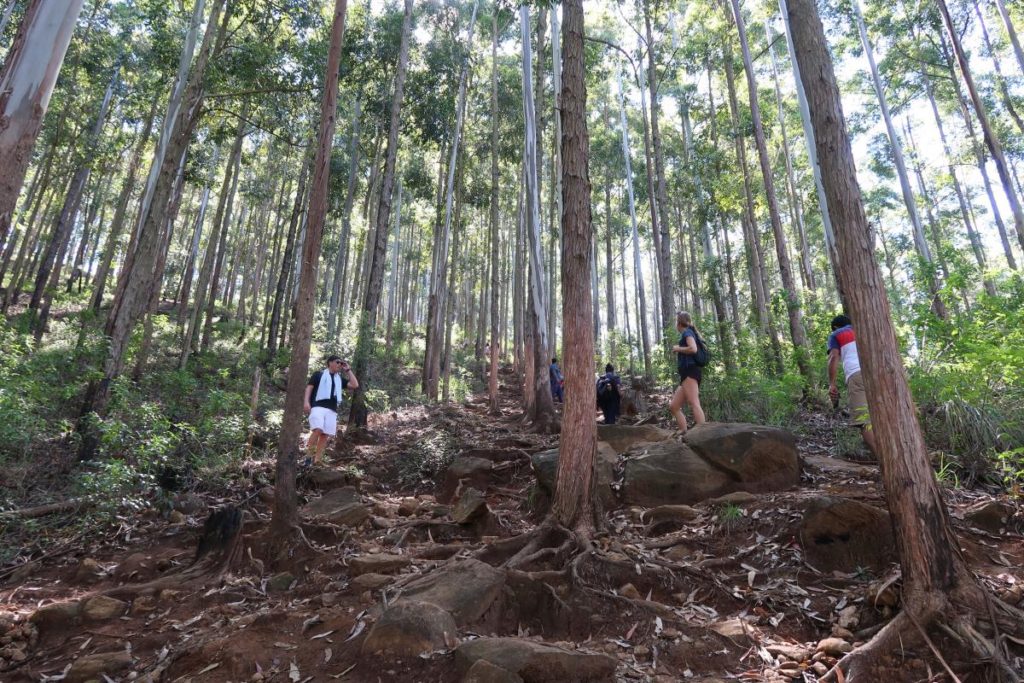
Once through the trees, you will begin to make the big climb up to Ella Rock. At this point, you can’t really make a wrong turn, as there is only one way to go: up! It is a steep climb to get up, so this part of the hike may be quite challenging for some.
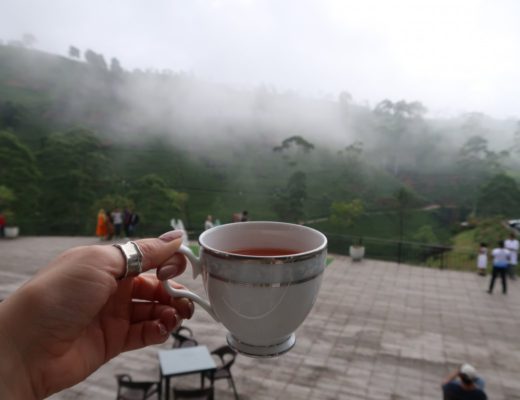
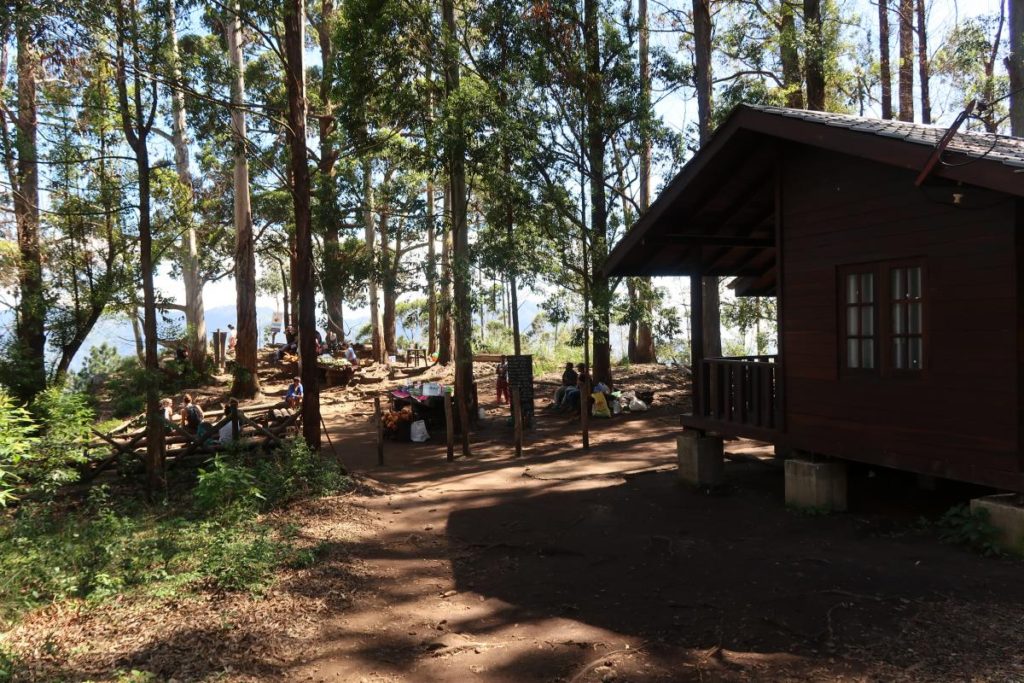
Once you finally get to the top, you’ll see a little house and a lot of other people surrounding the area. There are locals selling water, and other drinks and snacks should you need it.
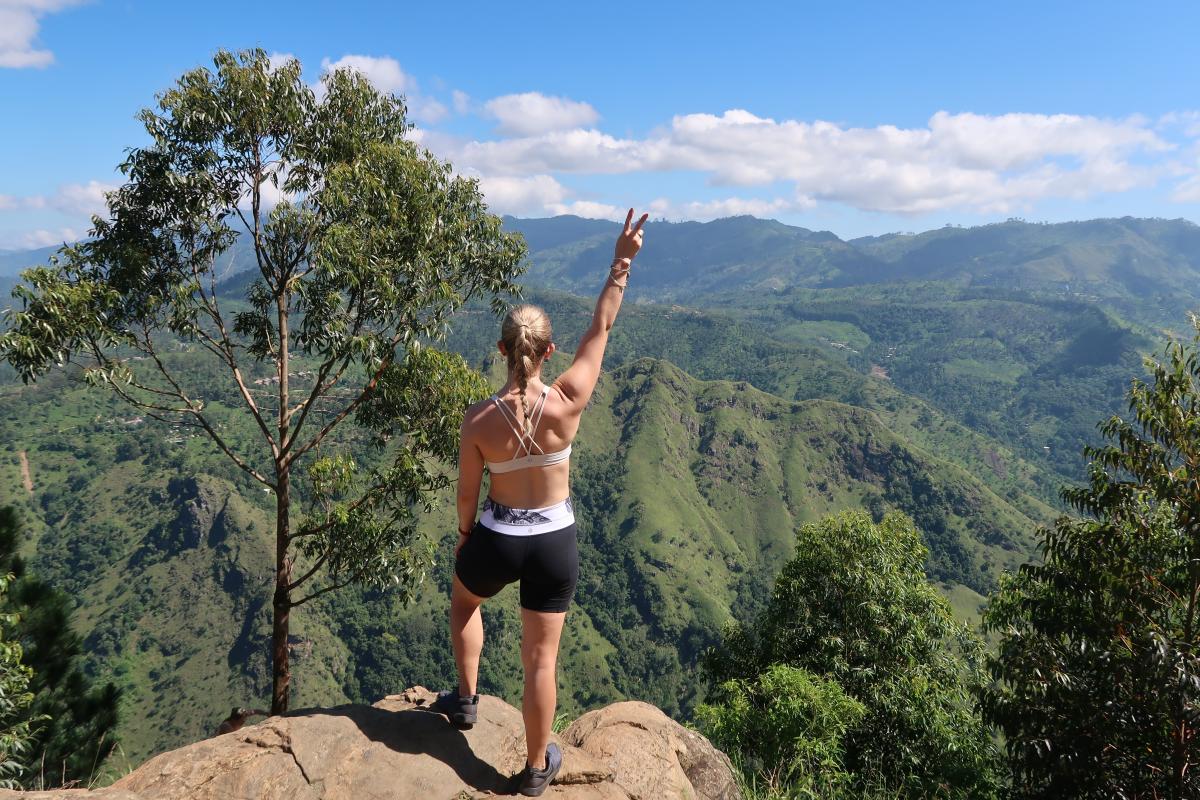
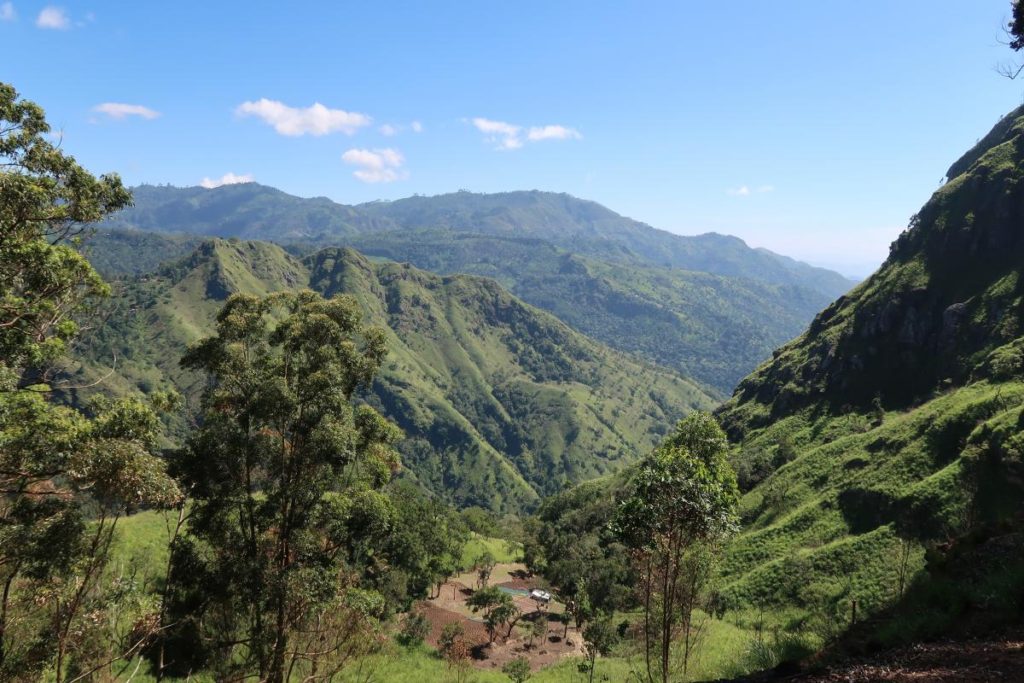
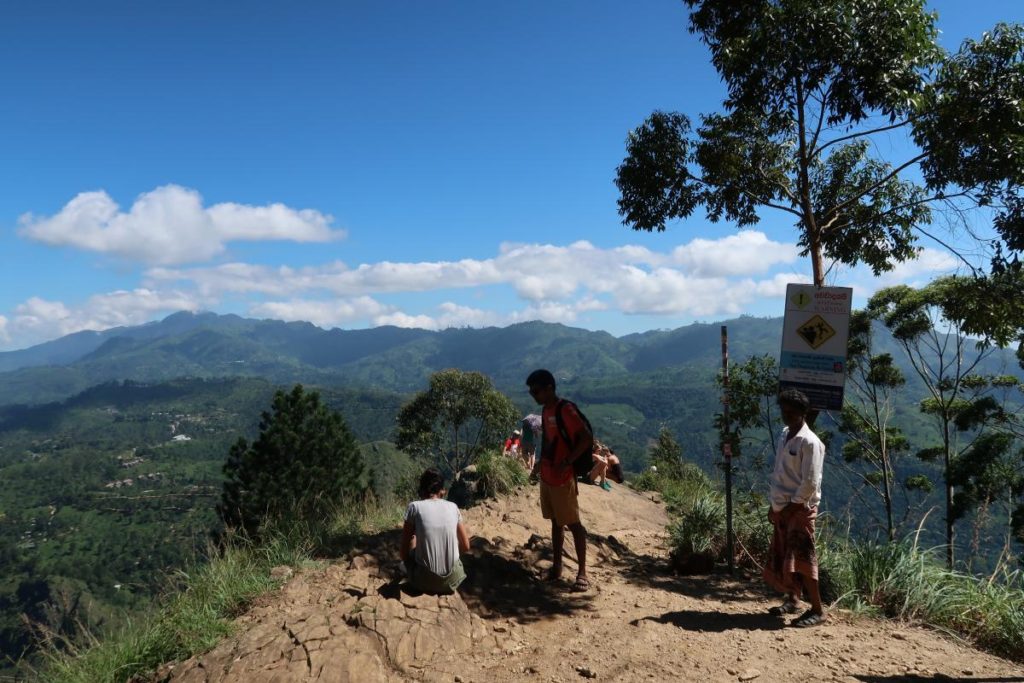
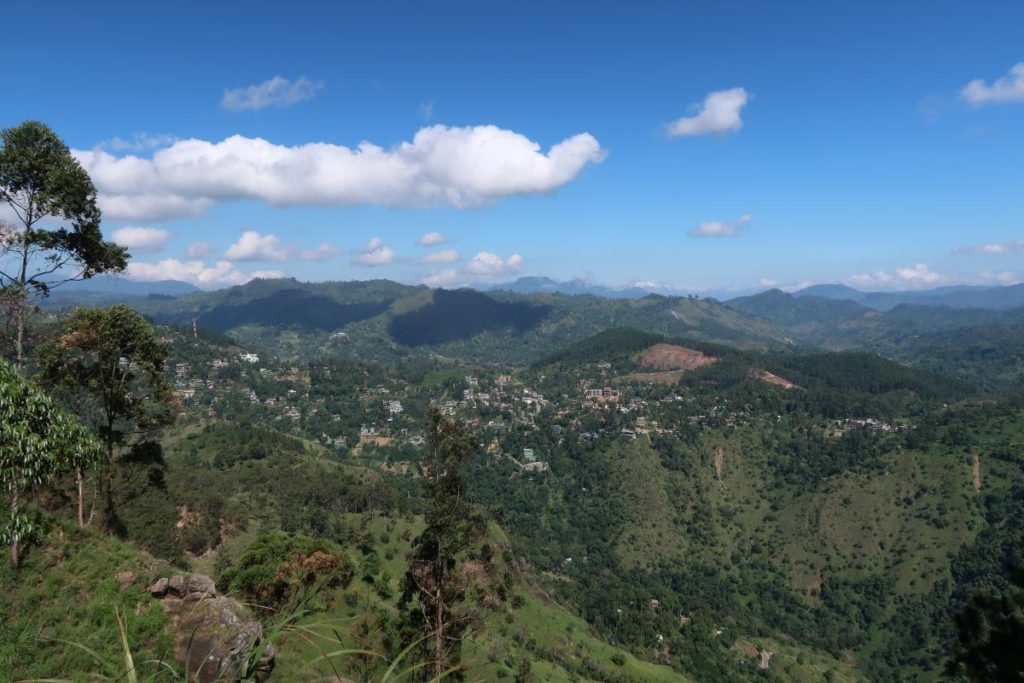
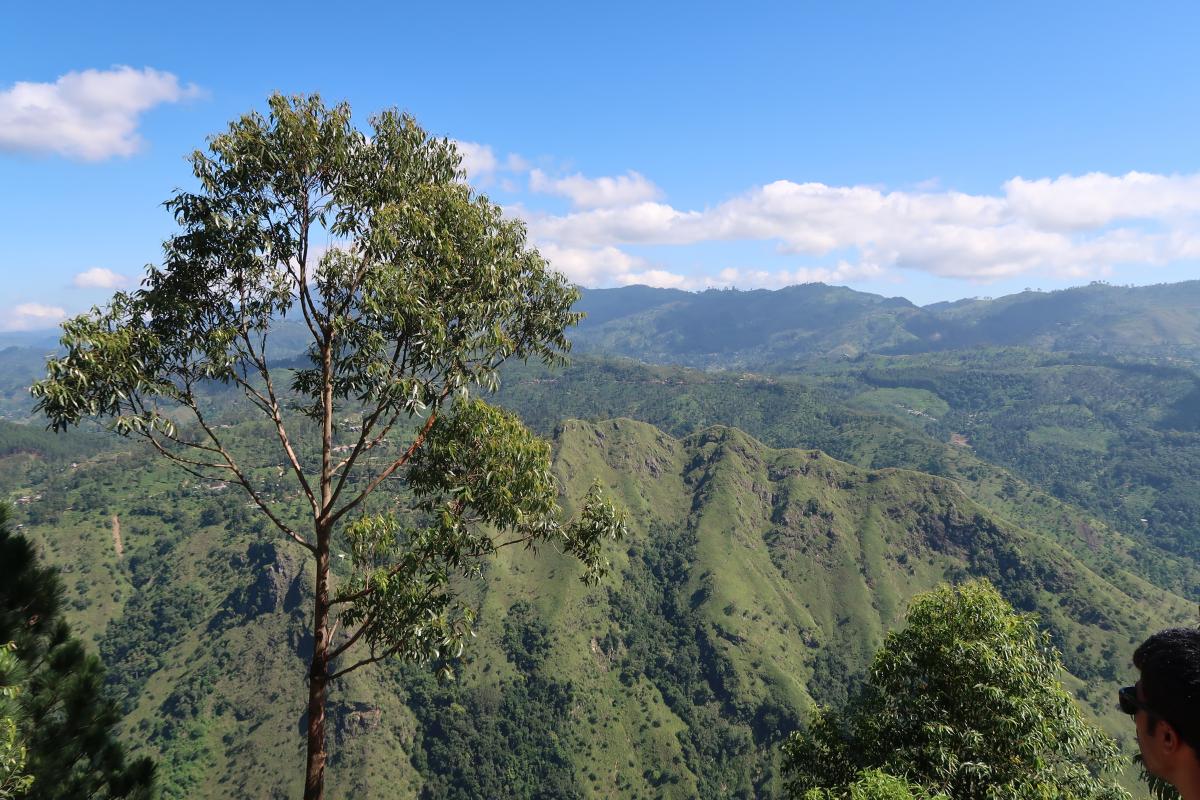
It should only take you an hour or so to make it up to the top of Ella Rock. The rock area that looks out over Little Adam’s Peak and the surrounding mountains was packed with other tourists who were leisurely sitting around. We were able to grab a few photos and then, because it was too crowded up there, we decided to leave. However, we made a bit of a detour before our descent.
A little detour
-
- Follow the path through the forest
-

- Views from the other side
One of the locals who was selling drinks at the top suggested we go down along another path just behind the house. She said to keep following the path and you’ll eventually make it out into a clearing with more sweeping views of the mountains. It was about a 10 minute walk to get to the clearing.
To get back, just retrace your steps and head down the way you came up. Just be careful on your way down – it’s very steep and slippery in some parts!
Things to note:
– the climb up shouldn’t take more than an hour
– in total, the hike should take around 2.5 hours
– bring proper shoes and plenty of water
– there were plenty of other tourists also doing this hike, so it’s likely you’ll all be going in the same direction. If in doubt, just follow or ask others
– we read many guides saying to leave first thing in the morning, however, we left in the early afternoon. While it was very hot, it was still manageable (perhaps not so in the summer months)
– be careful on your way down. It is very steep and slippery in some bits
– don’t listen to any locals who may be trying to lead you in the ‘right’ direction. It’s likely a scam to get you lost and then need their paid help to put you back on the right track